At a glance
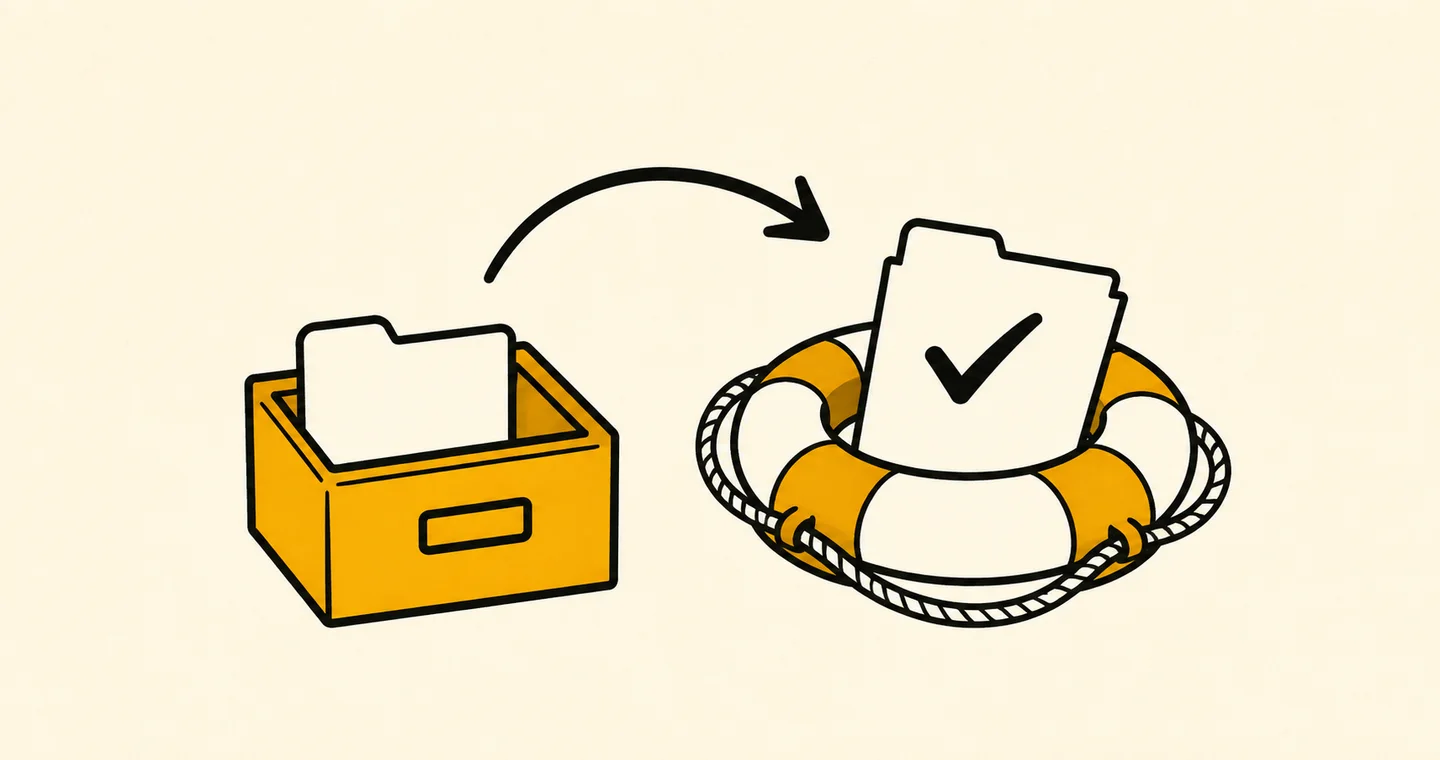
A useful backup check ends with a recovered file that opens and contains the expected work. Restore a representative sample into a separate test location, verify its version and required assets, and record what passed or failed. One successful file restore is evidence for that sample, not proof that your whole business can recover.
To check a file backup, recover a representative file into a separate test location, open it in the application you need, and verify the content and version. Record the result and fix any missing pieces. A completed backup job is useful evidence that a process ran; the restore check tells you whether the recovered work is usable.
Decide what you need to recover
Start with a deliverable you could not easily recreate: a current design source file, a working spreadsheet, or an approved document. Include supporting files needed to use it, such as linked images. Choose material you are authorized to handle and keep the test within your normal access and storage controls.
NIST's small-business cybersecurity basics recommends backing up data regularly and protecting and testing those backups. The checklist here is a small file-level exercise based on that principle. It does not test recovery of an entire computer, a cloud application, or a compromised account.
Write down the version you expect to recover before you begin. “Opens successfully” is incomplete if the file is missing yesterday's approved changes. Also identify the application and account access required to open it; possessing a file does not necessarily give you everything needed to continue working.
Use this file-restore checklist
- Name the sample. Record its working location, expected content, and the point in time you want to recover.
- Identify the backup source. Find the actual backup copy or version using your provider's current instructions. Do not assume another shortcut to the live file is an independent copy.
- Choose a separate destination. Create a clearly named test folder outside the live project. Confirm that the restore operation will not replace existing work. If the available operation is destructive, stop and use a documented non-destructive method or get appropriate technical help.
- Restore the sample and its dependencies. Include linked assets that the chosen application requires. Keep permissions restricted to the people who need the test.
- Open and inspect the recovered copy. Check the important pages, sheets, layers, or other content. Compare the expected recent change with what you actually recovered.
- Try the next normal work step. For example, export a PDF from a recovered source document into the test folder. A preview can look correct while the editable file is missing an asset.
- Record the result and next action. Note the version tested, time taken, missing pieces, and a date to repeat the check after any fix.
Keep the live project and original backup unchanged during the exercise. Do not delete a working file to simulate a failure. A test folder is sufficient for this initial check.
Worked example: the file opens, but the image is missing
Imagine a freelance designer tests recovery of a brochure. The following record is fictional; its times and results are not a ProjectBook performance test.
- Sample: brochure source file and the linked product-photo folder.
- Expected version: the draft containing the approved contact details and new cover photo.
- Destination: a separate recovery-test folder, leaving the active brochure untouched.
- First result: the document opens and the contact details are correct, but the cover image is missing. Restore and inspection took 12 minutes.
- Finding: the backup selection included the document but omitted its linked photo folder.
- Correction: include that folder in the backup, create a new backup copy, and repeat the same restore and export check.
- Retest result: the source opens with the expected image, and the test PDF contains the correct cover and contact details.
The first result is a failed usability check, even though the file was recovered. The retest supports a narrower conclusion: this brochure and its sampled assets were usable from that backup. It says nothing about other projects or how quickly an entire computer could be restored.
Separate backup coverage from file organization
A neat folder structure helps you locate work, but it does not establish recoverability. Review which locations and file types your backup actually includes. If you rely on a cloud service, check its current restore process and version availability rather than assuming every historical file is recoverable indefinitely.
The software renewal checklist is useful when changing a storage or document tool: verify the exported work and its recovery path before removing access to the old service. An export and a backup can serve different purposes; test the copy you would actually depend on.
Turn a failed check into a tracked action
In ProjectBook, create a task for the correction and put the expected retest result in its description. Use the planner to schedule the follow-up. Keep the actual backups in your chosen backup system. ProjectBook organizes this work; it is not a backup or restore service.
Record the test date, sample, backup location reference, result, and next review in your business-operations notes. Keep passwords, recovery keys, and sensitive file contents out of those task notes. A location reference is enough to help an authorized person find the protected record.
Choose a repeat interval based on how quickly important files change and what failure would cost you in lost work. Repeat after a significant change to your storage setup. Use a weekly review to check whether the corrective task was completed, without assuming every review requires another restore test.
For related operating routines, browse the running a business guides. The immediate goal is concrete: know which sample you recovered, what made it usable, and what still needs checking.
From ideas to a clearer week