How to Build a Reusable Project Template That Works for Any Client

At a glance
Start a reusable template with the steps your projects actually share, including intake, delivery and review. Adapt it to each client's scope rather than assuming every project needs the same tasks.
1. Why Every Freelancer Needs a Reusable Project Template
If you’ve ever had to dig through old emails to remember how you onboarded a client…
If you’ve copied and pasted a to-do list from a past project into a fresh doc…
If you’ve missed a small-but-important step because you were juggling three clients at once…
You’re not alone. But you don’t need to keep reinventing the wheel.
A reusable project template is like a launchpad for your freelance workflow. It’s a structured checklist or timeline you can customize per project, so you’re not starting from zero every time a new client signs on.
Templates help you work faster, deliver more consistently, and show up more professionally—without overcomplicating things.

2. The Hidden Cost of Starting from Scratch
When freelancers don’t use templates, the cost isn’t just time—it’s decision fatigue. You’re constantly trying to remember:
- What did I do last time?
- Did I forget to send the welcome email?
- When do I usually collect feedback?
- What task comes after delivery again?
These small questions steal mental energy. Worse, they lead to inconsistent client experiences, missed steps, and increased stress as your client load grows.
A project template gives your brain a break. It creates flow instead of friction. And it means you’re not wasting energy on things you already figured out once.
3. What a Strong Freelance Project Template Includes
Your template doesn’t need to be complicated—but it should cover the key stages of your work. Most projects have a beginning (onboarding), middle (delivery), and end (offboarding).
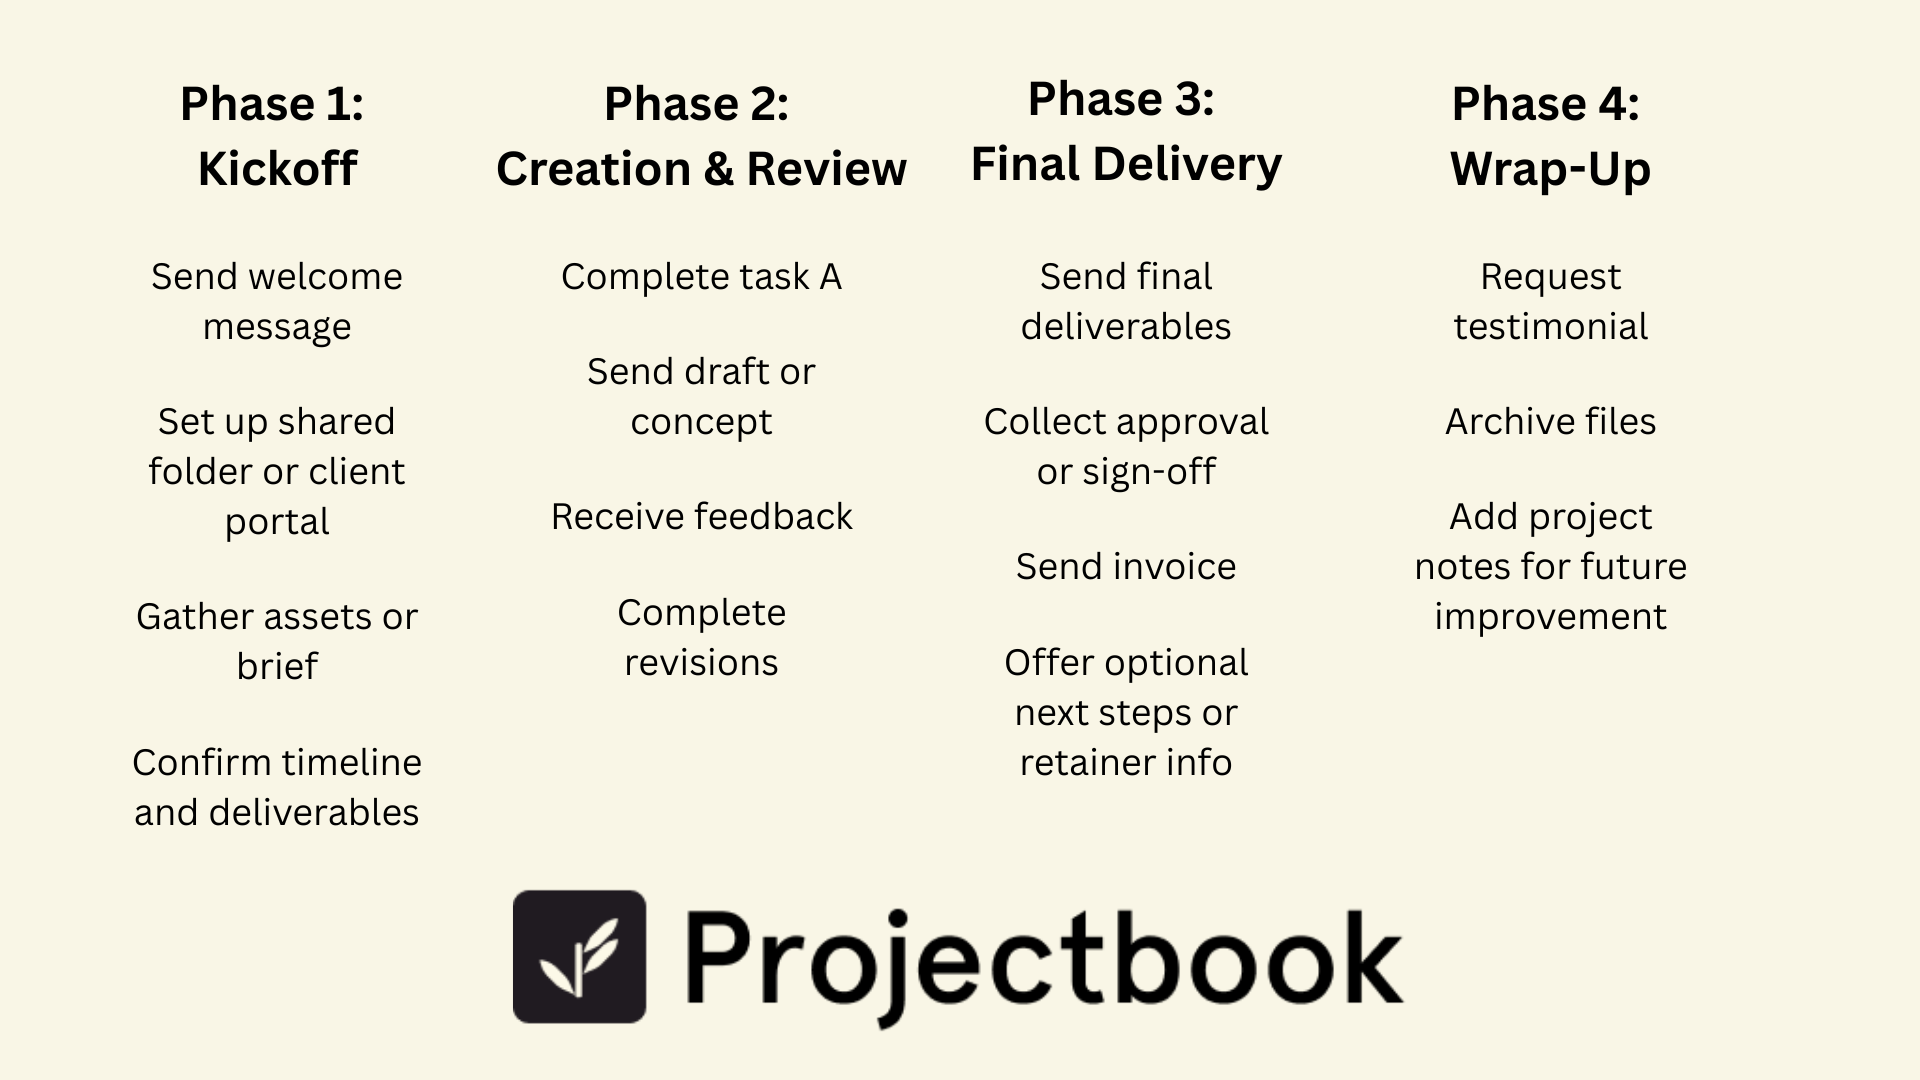
Here’s a general structure that works for nearly every service-based freelancer:
- Phase 1: Kickoff
- Send welcome message
- Set up shared folder or client portal
- Gather assets or brief
- Confirm timeline and deliverables
- Phase 2: Creation & Review
- Complete task A
- Send draft or concept
- Receive feedback
- Complete revisions
- Phase 3: Final Delivery
- Send final deliverables
- Collect approval or sign-off
- Send invoice
- Offer optional next steps or retainer info
- Phase 4: Wrap-Up
- Request testimonial
- Archive files
- Add project notes for future improvement
These steps may vary by industry, but the structure stays the same: guide the client from onboarding to delivery in a clear, repeatable way.
4. How to Build Your Template in 5 Simple Steps
Ready to build yours? Here’s how to make a template that actually works for you.
Step 1: Reflect on your last successful project
Look at what worked. What tasks did you repeat? What emails or requests came up every time?
Step 2: List out your process in chronological order
Don’t worry about getting it perfect. Just write out the steps as if you’re walking a client through the whole experience.
Step 3: Group tasks into phases
Break your steps into logical stages—like onboarding, creation, revision, delivery. This will help you stay oriented as projects progress.
Step 4: Add helpful notes or resources
Attach template emails, file links, or tips to specific tasks. This saves time later when you're in deep work mode.
Step 5: Save and duplicate
Save the master workflow in a document or checklist. Copy it for the new client and adjust the scope before creating project tasks.
5. Adapting Your Template for Different Client Types
Your template doesn’t need to be one-size-fits-all. Think of it as a foundation that you personalize per client.
You might keep the structure the same, but tweak:
- The number of revision rounds
- Client-facing timelines
- Communication preferences (calls vs. async)
- Deliverable types (PDF vs. editable files, etc.)
Having a solid baseline means you can make quick adjustments without rethinking your process every time.
If you offer multiple services (like design and content), consider creating one core template with branch variations—or create service-specific versions for quick access.
6. Use your checklist to plan the next project
Keep the reusable checklist in a document you control. When a new client project starts, review it, remove irrelevant steps, and create the current tasks in ProjectBook. Set dates from the new brief instead of carrying over old deadlines.
For a routine that repeats on a schedule, such as a weekly client review, recurring tasks may help. A recurring task is different from duplicating an entire project template with files and permissions.
7. FAQ: Creating and Using Project Templates
How detailed should my template be?
Start simple. It’s better to have a usable template with 10 core steps than a 50-step list you never open. You can always build on it.
Can I have more than one template?
Definitely. You can create templates for different services, client types, or project scopes—and adapt them as you go.
Should I share my template with clients?
You can share select phases or deliverables to help clients see the process and feel confident. But your full checklist can remain internal.
Do I need a tool like ProjectBook to manage this?
A document or spreadsheet is enough for the master template. You can use ProjectBook for the project’s current tasks and dates after adapting that checklist.
Final Word
A reusable project template isn’t about rigidity. It’s about clarity.
It gives you a proven process to follow, frees up your mental bandwidth, and helps you deliver consistent results—no matter the client.
And when your process feels grounded, your client experience becomes smoother, your projects feel calmer, and your whole business becomes easier to run.
So stop reinventing your workflow. Build your template once—and let it carry you forward, project after project.
ProjectBook.co makes it easy. Just create, duplicate, and go.
From ideas to a clearer week