How to use Projects
Updated
Welcome to ProjectBook! In this article you'll learn how to use Projects.
Projects view
The Projects view shows all of your projects in one simple dashboard. Click any project to open it and see its tasks, adjust its timeline, update its status, and more!
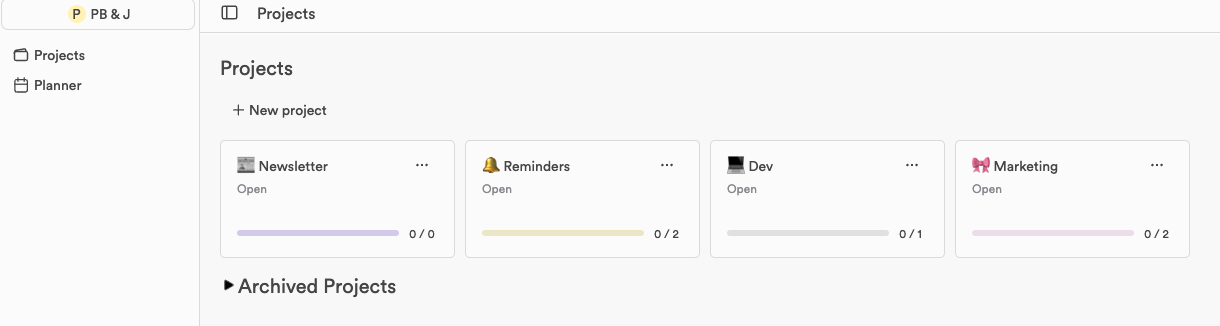
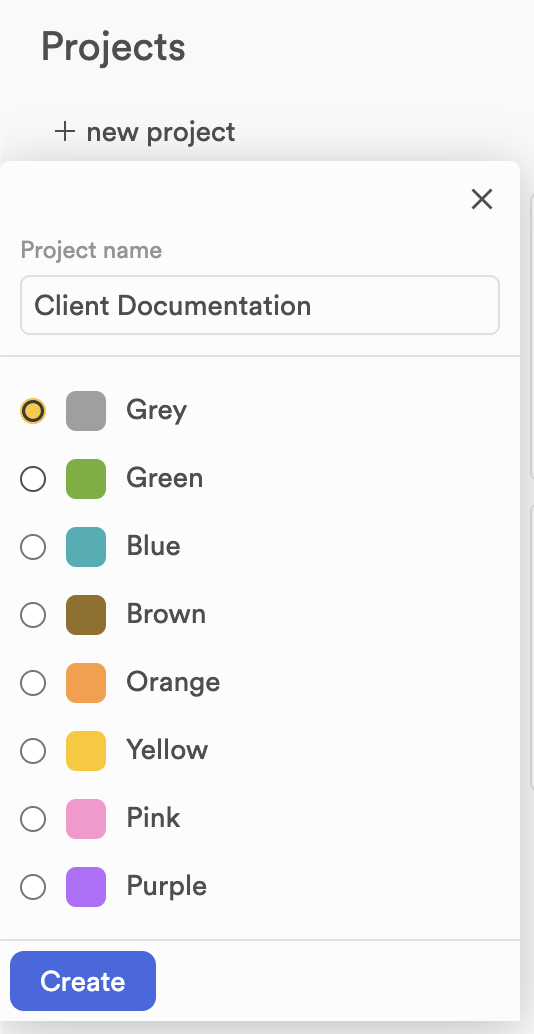
To add a project, click “+ New project” at the top of the page and enter your project's details. Pick an emoji and a colour, add a name, and click Create.
Editing project details
To edit a project, click its card to open it, then make your changes at the top of the page.
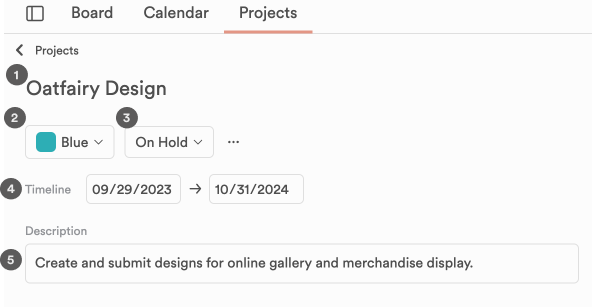
- Project name: click the name to change it at any time.
- Project colour: click the colour swatch to change the colour assigned to the project. The emoji beside it changes the same way.
- Project status: pick Open, In Progress, Complete or On Hold from this drop-down to keep track of where the project stands.
- Timeline: set when the project started and when it is due to end.
- Customer: link the project to one of your customers, so it is listed with them in the Customers view.
Adding tasks to your projects
To add tasks to a project, click “+ Add task” on its page and start brain dumping the items on your plate. Every task you add here is assigned to that project automatically.
As a bonus, you can make an important task stand out: right-click it, open Colour and give it a colour of its own.
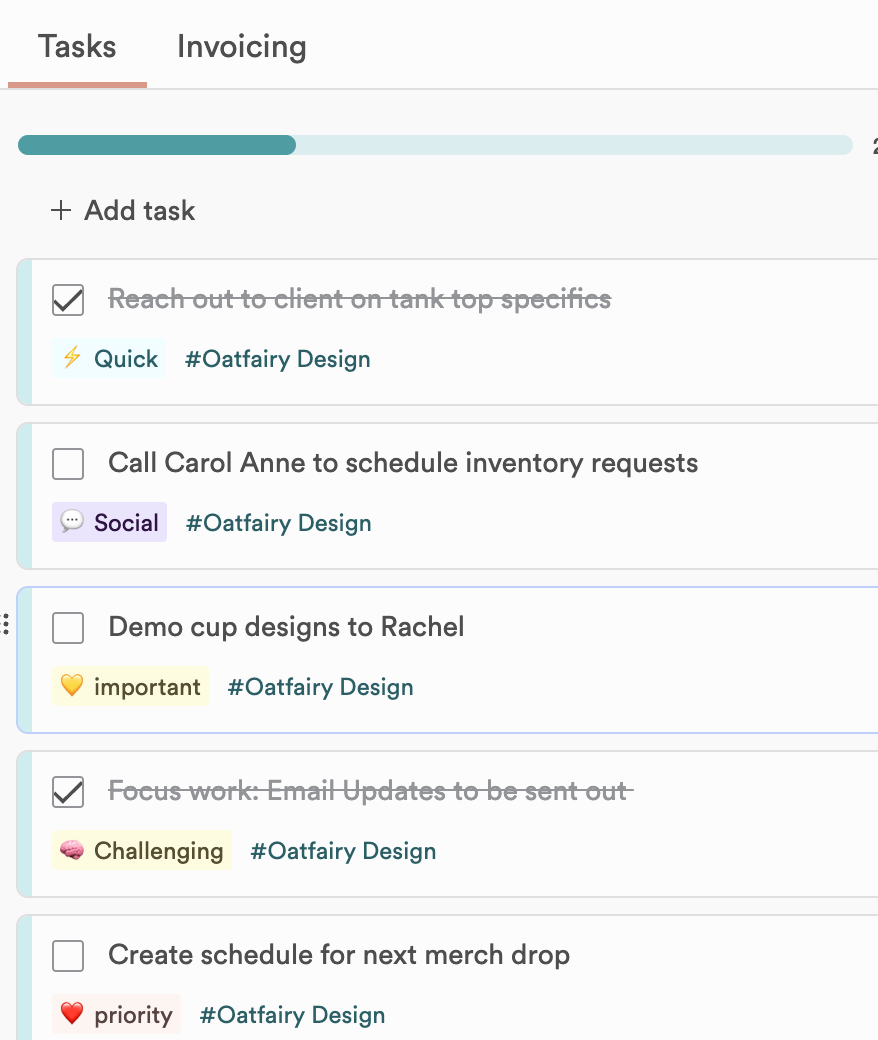
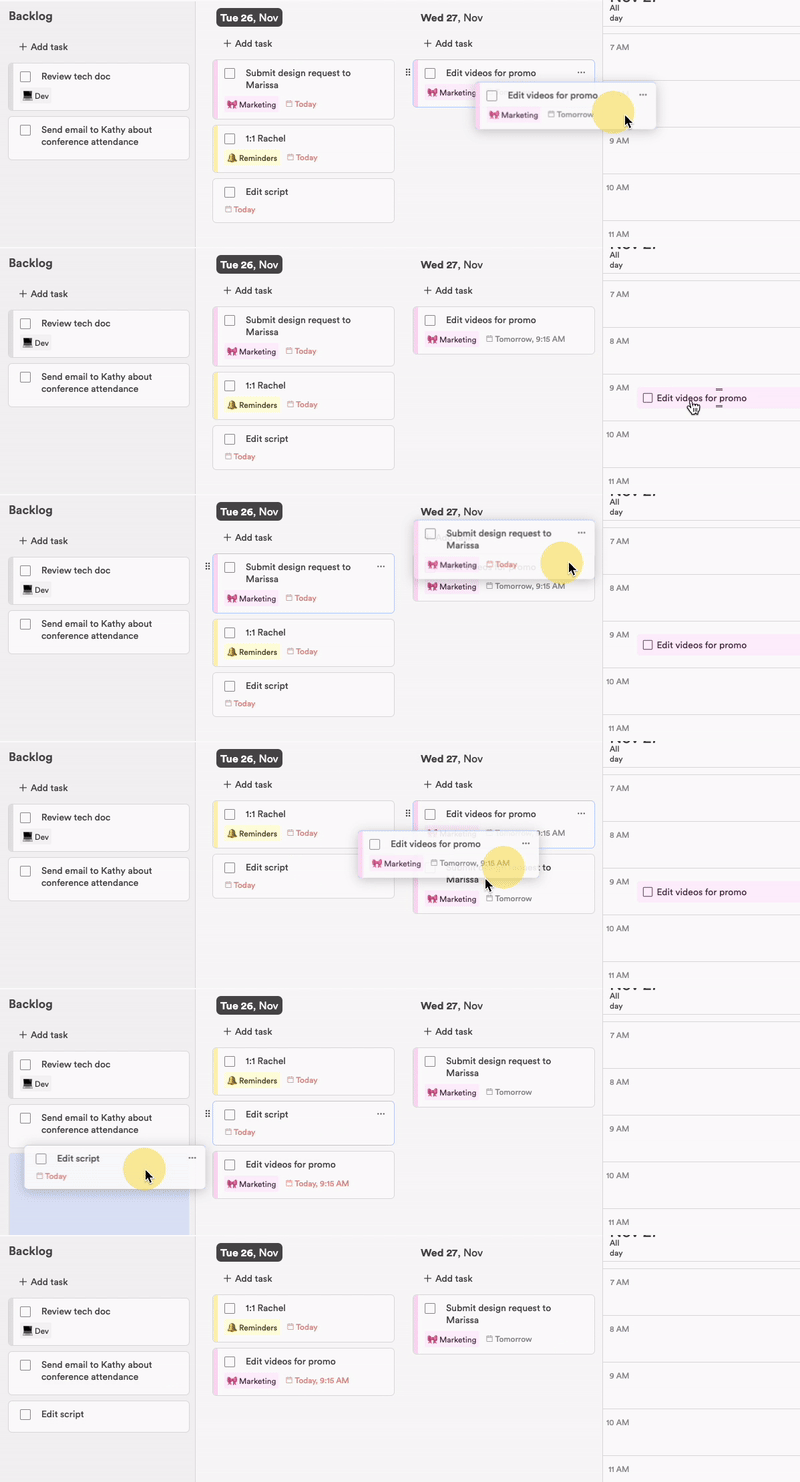
Don't forget, you can drag a project's tasks onto your calendar to timebox your day!
Go to the Planner, tick the project in the left sidebar so that only its tasks show, and open the Backlog. The Backlog is only available on a computer, in the desktop app or a web browser, not on a phone or tablet. Then drag a task onto the calendar on the right of the board, or into Calendar view.
Still stuck?
Write to us at contact@projectbook.co and say what you were trying to do. A screenshot helps.
Contact support